If every other cut on this list feels intimidating, start here. A buzz cut is one guard, run evenly over your whole head — no fading, no blending, no line to get wrong. It's also the cut that teaches you the fundamentals every other style builds on.
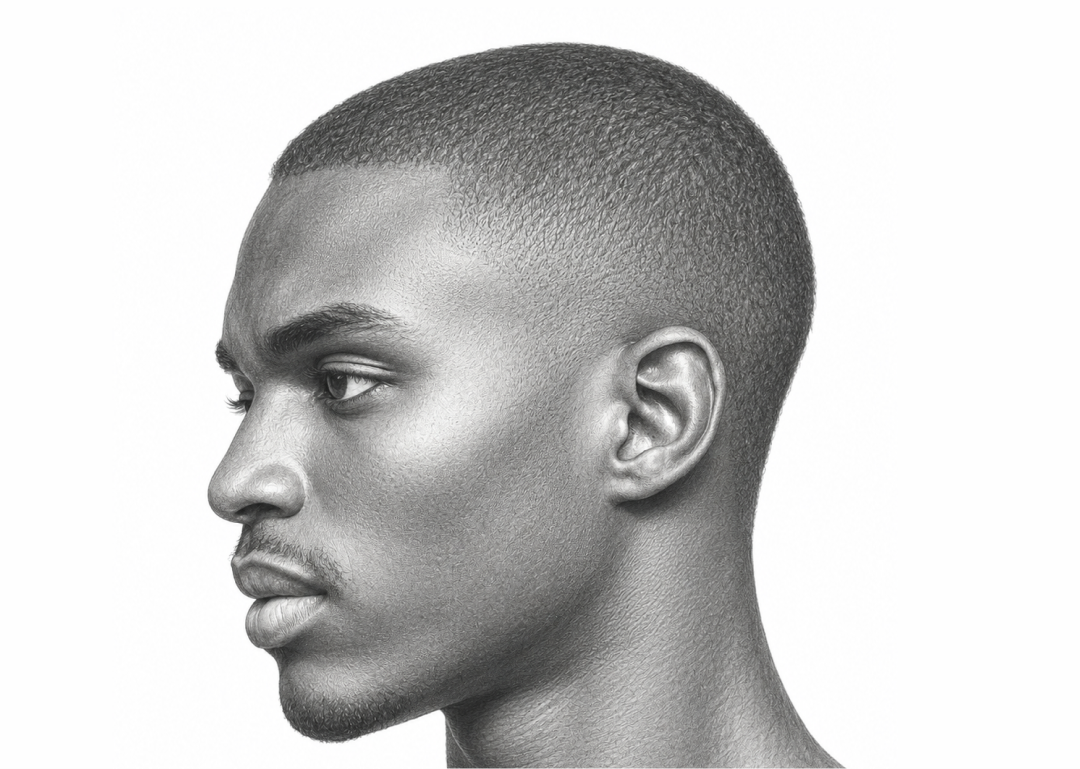
Picking your guard number
This is the one decision that actually matters here, and it's permanent for the length of this cut. A #2 (about 6mm) is the safer first choice — short enough to look deliberate, long enough that small unevenness in your technique doesn't show. A #1 (3mm) is a true induction buzz; it looks sharper but shows every pass line and a lot more scalp, so it's less forgiving if this is your first time holding clippers.
The actual technique
- Start completely dry. Wet hair clumps and lies flatter than it actually is, which means you'll cut it shorter than the guard number suggests. Buzz cuts especially need dry hair to read true length.
- Push against the grain — into the direction the hair grows, not with it. Going with the grain lets hair slip past the guard's teeth instead of getting caught and cut, leaving it longer and patchier than the number on the guard suggests.
- Work in overlapping strips, top first, then sides, then back, each stroke overlapping the last by about half its width so you're not leaving thin missed lines between passes.
- Cross-pass the whole head a second time from a different angle — front to back, then side to side. This catches the swirl patterns a single direction always misses.
The two spots to double-check before you're done
The crown and the strip just above the nape. Both sit at awkward angles relative to how most people naturally hold the clipper, and both are invisible without a second mirror. Take the extra thirty seconds here — it's the difference between a buzz cut that looks intentional and one with a visible bald patch nobody warned you about.
Optional finishing touch
Clean the sideburns and the neckline with no guard, right down to skin, for a soft natural edge rather than a hard blunt line where the buzzed length just stops. This step is optional, but it's the small detail that makes a home buzz cut look done rather than unfinished.
Quick answers
Will it look patchy right after? Small unevenness is completely normal on a first attempt and settles visually within a day as the very short hair "relaxes." Don't panic and immediately go shorter to fix it — check again in daylight before deciding anything's actually wrong.
How often do I need to redo it? Every 2–3 weeks for a #1, closer to 3–4 for a #2, since there's no blend line to maintain — just overall length creeping up.
Does hair type matter for a buzz cut? Less than for any other cut on this list — straight, wavy, curly, and coily hair all buzz down to roughly the same result, which is part of why it's the safest first attempt regardless of your hair type.